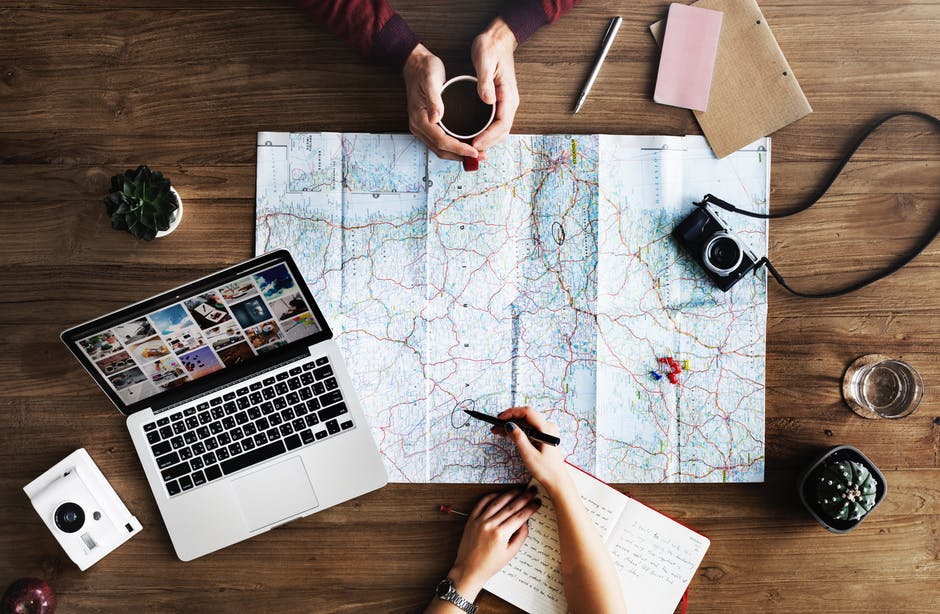
If you’re reading this text you’re either daydreaming about starting a travel blog or you’ve finally plucked up enough courage to actually do it. Either way, your love for traveling and passion for writing can meet and merge in your first ever travel blog. Although it may seem scary or even impossible, all you actually need is the passion and eagerness to do it. If you’ve got that covered, you’ll sprint through the rest of it and come out a winner.
In order to help you set up your first travel blog and get started, we’ve created this ultimate beginner’s guide. The steps will help you plan the process, learn what you need to know and create a fantastic blog. All you need to do is let go of your fears, take a deep breath and embrace your new venture.
Let’s take it step by step.

1. Your Identity
Your travel blog can be anything you want it to be. Your stories are your freedom and there’s no one telling you what or how to do.
This means you’re able to form your own identity and decide what to share with your readers. This is why before setting up your blog, you need to make some decisions.
Think of:
- A name
Your travel blog needs a catchy and unique name that is easy to remember and gives the readers a hint of what to expect.
Think long-term. Don’t tie it to something that is currently popular or trending. Come up with something evergreen.
- A concept
Do you have any idea about the posts and stories you would like to share?
Even though your blog may take you in God knows which direction, it’s still best to have an outline.
- A style
Your style refers to the way you address your audience.
It’s recommended that you use everyday language plus a friendly and humorous tone. Still, the choice is yours.
2. Domain name & Hosting
If you’re not even remotely familiar with these terms, don’t panic.
It’s simply the technical aspect of starting your blog and we’ll help you master it. Domain and hosting go together, but let’s separate them for just a second.
- Domain
A domain is the URL of your website, that is, your travel blog. It’s this little guy: yourfirstblog.com
It should be the same as your name so as to make it easy for people to find it.
What’s the catch? You have to buy a domain name.
This simply means you need to find websites which sell domains, such as Name Cheap or Go Daddy. Each website offers you to buy a domain for a certain price per year with some additional features.
Choose the offer you find most suitable for yourself, and go for it.
- Hosting
This is about renting space on the internet. It’s a space where all your blog data is stored and secured.
Here are the most recommended web hosting services:
- Site Ground
1 click installation, fast load, managed updates, protection from hacks and more.
- BlueHost
1-click installation, a FREE domain name, email, FTP, and more. - DreamHost
optimized for WordPress, daily backups, 24/7 customer service and more.
Each of these hosting plans differs in price, the number of domains, storage size and additional features.
There are step by step guides for each of the options, you just need to choose the one which suits you the most.
Once you make your purchase, it’s time for installing WordPress.
3. WordPress Installation
Your next step is to download and install WordPress. This will allow you to finally bring your travel blog to life and start putting all the pieces together.
If you’re thinking about choosing a different option, take a look at this :
- New York Observer, New York Post, TED, Thought Catalog, Williams, USA Today, CNN, Fortune.com, TIME.com, National Post, Spotify, TechCrunch, CBS Local, NBC, and more all use WordPress.
You’re in good hands.
Here’s what you need to do:
- Go to their website and click Get WordPress.
- Download it and unzip it.
- Find out whether your hosting provider already has a database set up for you or an automated installation (the ones above do).
- If it doesn’t, follow these instructions for setting it up manually.
4. Themes and Plugins
Once you have your WordPress installation over with, you can go to customizing your blog and giving it an identity. We recommend looking into the following:
- themes
WordPress offers a ton of free themes for you to choose for your blog.
Here’s what to do:
- Go to your admin area and find Appearance, then Themes
- Click Add New
- Customize your search
- Find your theme, scroll over to it and click Install
- Finally, click on Activate
There it is! You’ve got yourself a theme set up and your travel blog has got a fresh new look.
- plugins
WordPress allows you to add features to your blog and make it even better. Here’s what you might find handy at the beginning:
- Anti-Spam plugin
It identifies and removes spam comments, reveals hidden links, blocks, stores and more
- Optimization Plugin
It cleans your database, makes everything faster, removes data, schedule clean-ups and more. You can try WP Optimize.
- SEO plugin
It helps you make wording choices, attract more visitors, be found in Google searches. Most people go for Yoast.
- Social Sharing plugin
It adds share buttons to our posts or images for multiple social media: Facebook, Pinterest, Twitter etc. Check out Frizzly. - Multilingual plugin
It translates all your blog content into a language you choose and makes it available on your blog.
5. Your first post
You’re all set up! It’s time for the part you’ve been waiting for the whole time: writing your first post.
If you have your idea ready, just follow these steps:
- Go to Add New Post
- Choose the Title
- Write your text
- Upload media
- Publish!
Your first post is out and you can call yourself a travel blogger. Even though your audience will mostly be your friends and family at the beginning, don’t despair.
Focus on writing quality posts and finding your style. You’ll have plenty of time to worry about building an audience.

Congratulations! You’ve covered the basics and now you get to explore, test options, improve your skills and grow your travel blog.
Conclusion
You’ve got everything under control and there’s nothing to worry about. You’ve got a great adventure ahead of you and the best is yet to come.
The first step is always the hardest. This guide is hopefully going to make it easier for you. Just follow all the instructions and read carefully. Take your time to make everything perfect for your first travel post. Once you set it all up, you can officially start blogging away!
About Author:
Elisa Abbott is a freelancer whose passion lies in creative writing. She completed a degree in Computer Science and writes about ways to apply machine learning to deal with complex issues. Insights on education, helpful tools and valuable university experiences – she has got you covered;) When she’s not engaged in assessing translation services for PickWriters you’ll usually find her sipping cappuccino with a book.


